Quality and Control
Precision, durability, and reliability characterize Reeds 'n Stuff dial indicators.
Achieve consistently good results by measuring the thickness of your cane.
The markings on the tongue help to determine identical measuring points between reeds, which allows you to check the profile and symmetry of the reeds.
The space-saving mini dial indicator is the ideal choice for precise measuring on the road.
The dial and the lifting lever can be rotated to any desired position.
The dial indicator is therefore suitable for both right-handed and left-handed people.
Our dial indicators are available in both analog or digital formats.
The precision of both devices is the identical, the only difference lies in the convenience of use.

The Tip of Your Choice
Choose among tips S (Standard for bassoon and the mini dial indicator), F, and D to see the point you are measuring from every perspective and to measure exactly at a given point. Choose the ball-pointed tip K for a smooth glide when you pull the cane or reed through, as well as to measure gouged cane.
-
-

-
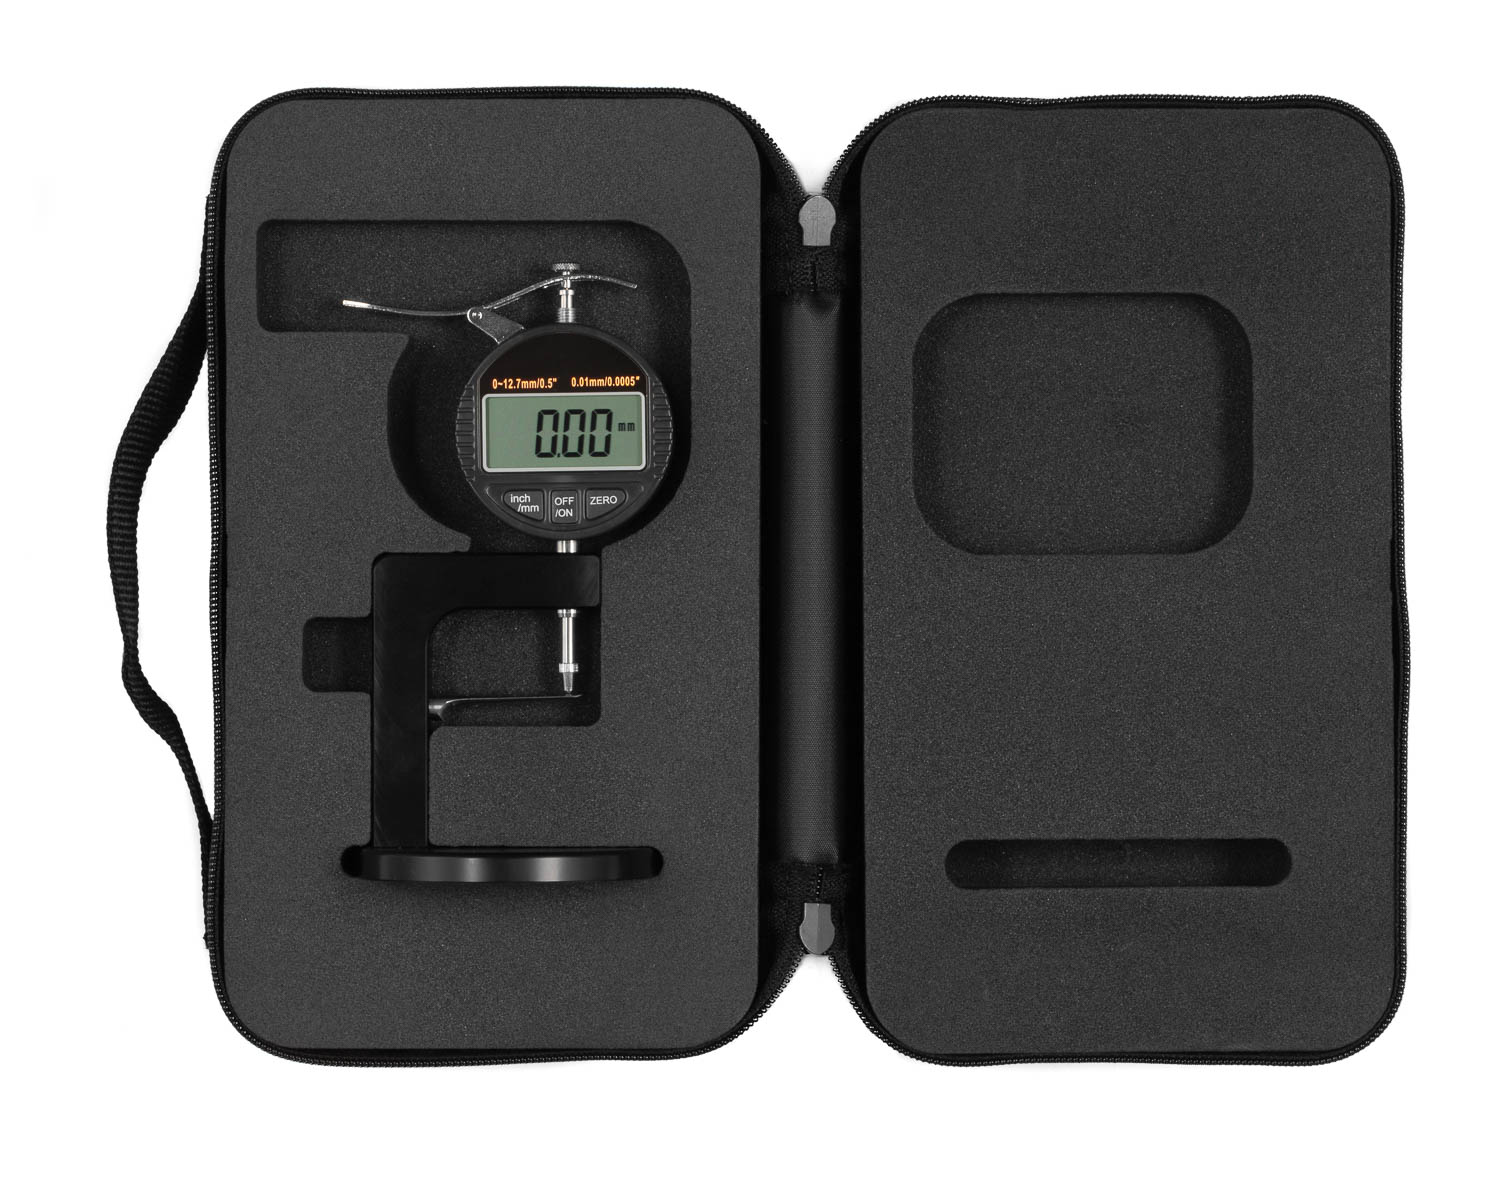
The Reeds 'n Stuff transport case features a simple design that's easy to use. The foam interior provides a snug fit for safe transportation. Tools can be stored in the zippered compartment on top of the case. The handle provides portability wherever you need it.
Buy
-
Replacing the tip of the dial indicator is easy to do. You can simply turn out the tip that you have now with the help of pliers and replace it with the desired new tip. If there is not enough space between the tongue and the tip, you can loosen the screw that fixes the dial gauge in the dial gauge arm and remove the dial gauge from the arm. It may now be necessary to recalibrate the dial indicator.
Can I change the tongue of the dial indicator?The tongue of the dial gauge can also be changed very easily. You can find instructions here.
Can the hardness tester be used as a dial indicator?The support plate of the hardness tester is too large to obtain precise results. The thickness of finished reeds, for example, cannot be measured with the hardness tester. Inaccurate measurement results may occur also with gouged cane. For this reasons we do not recommend using the hardness tester as a dial indicator.
Can I transform my dial indicator from right to left-handed or do I need to buy a new one?The dial indicator can easily be transformed from right to left-handed. Simply loosen the set screw at the end of the arm holding the dial. This will allow you to rotate the dial to face the opposite direction. Be sure to calibrate the height of the dial so it both touches the tongue and reads "0" before tightening the set screw. Make sure not over-tighten this screw as it will damage the actuating shaft and prevent the dial from operating properly.
The digital dial shows a number and SET blinks. The number shown does not change even if I move the axle up or down.Please keep ZERO pressed for 3 seconds. This erases the SET memory.
When do I have to change the battery?The battery must be changed when the display flashes, the battery symbol appears, or nothing is displayed. The battery indicates the type used (e.g. LR 44).
How do I change the battery? Do not touch the new battery with your fingers, use a piece of cloth. The battery compartment is located on the upper left side of the dial gauge. Use a small screwdriver or the tip of a sharp knife to lift off the small plastic cover. Insert the new battery exactly as you found the old one. When inserting the new battery be careful not to touch, bend, or break the battery contacts (the small pieces of metal inside the dial gauge).
You can find detailed instructions here.
- Battery
- LR44
- Country of origin
- Germany
- Product number
- F41-15100F41-15100
